
This is an excerpt from the Book called “Making Concrete Countertops” by Buddy Rhodes .Continue reading to learn more about Mixing and Packing Concrete, thanks to the author.
Make Sure your mold is as beautiful and perfect as it can be. Blow out or clean the mold before final casting to eliminate all dust. Have all your tools on hand, and all your reinforcement cut and ready.
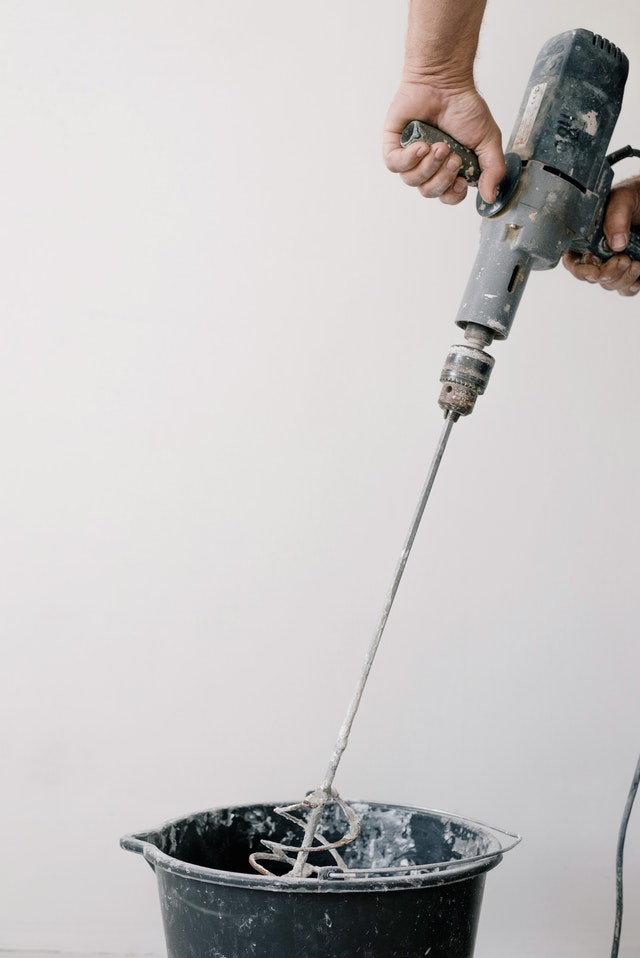
Mixer
19-gallon large tub with handles (common party tub container; aka Muck basket)
Latex gloves
Leather gloves
Diamond wire mesh
Ladur TM wire
Wire cutter
Tape measure
6 inch putty knife
Dust mask
Measuring bucket
to measure water
for every bag
that we make
Plastic drop cloth
Knee pads
Polypropylene reinforcement fiber
Diamond wire mesh
Clamps
The Buddy Rhodes System calls for one jar of color to two bags of concrete, plus four quarts of water per bag of mix. For hand packing, we need our concrete in stages. So we don’t want to mix too much at one time. Hand mixing is the best way to integrate the ingredients when blending small batches, two bags at a time.
Add the color to the measuring bucket first.
Use a hose to clean the jar while filling the bucket. We need almost to two gallons.
Dump the water and color into the mixing bucket. A final rinse of the mixing bucket should bring the water content to two gallons.
Add the first bag of mix, and mix until well combined.
Add the second bag and mix to a clay-like consistency.
Depending on weather conditions, you may need to add a little bit of water, but be careful. You want a very dry blend. It has to be just right. If it’s too wet it’s just going to fall down. It won’t stick. This is also how you get the veining.
A cone demonstrates the zero slump property of mix when properly blended for vertical application.
The Hand-Packing Method is demonstrated on Plexiglas to show the desired effect. It’s important to press the pieces tight. The goal is to have voids, but not too large. The tendency is to make balls of the wet concrete, but this creates “elephant turd” syndrome, or a biscuit-like effect. The end result is a look that consists of too many round shapes, with large voids. It’s important to start with small, irregular shapes and to press them tight. But not too tight, or you won’t have voids! Practicing on Plexiglas is a good way to develop a feel for a technique that is executed blind, the results of which usually not revealed until the next day.
The process of hand packing is demonstrated on Plexiglas.
The wet pack shown from the other side of the Plexiglas.
Dried and removed, a close-up of the piece cast on Plexiglas TM.
Remember we’re packing this mold upside down. The mold is built up from the bottom. Kneepads are very helpful to have. We didn’t put form release on because we didn’t want it slipping. Also, we didn’t pre-cut reinforcement wire since the interior measurements will be variable after the first layer of concrete is added. We will follow the same method for the center and corner vertical units.
Starting in what will be a top corner, above the counter slot, begin packing from the bottom up. You want a crisp corner, so make sure it’s packed tightly in.
With the bottom filled, move above the shelf knockout, starting again in the corner.
Fill the vertical walls moving up.
Pack the top corner of what will from the base of the unit.
When the vertical walls are covered, go back over the corners, using your knuckles to pack them tight. Work from the base to the top.
Using a closed fist, pack the flat surfaces, bottom to top.
Go back and, beginning at the base, cover the gullet and shelf knockouts.
Pack concrete tightly under the top shelf edge that will form the base of the unit.
Packing of the front panel should begin at the shelf edge that will eventually form the base. Again, we want to start with a tight pack for a good crisp bottom edge.
The first pack is complete. Note that we’ve left an organic edge along the ¾ inch edges of the front panel. You don’t want to force a super straight edge that will appear as an artificial seam later.
At this point the concrete is only 1/2“to 3/4″ thick at the larger lumps. It needs to cure for an hour or so. This gives you time to measure and cut wire mesh reinforcement for application at the next stage.
A new mix is created. You want a really stiff, peanut butter-like texture. This is then smoothed on, buttering the inside to make it smooth, with a thin application.
This time you should add polypropylene DuraFibreTM, one big handful per bag. Fiber is not used on the surface areas of the casting because then you end up with a peach fuzz effect. You can burn the fuzz off with a blowtorch, or sometimes they sand out. But mostly the fibers just get in the way.
A creamy texture is desirable.
A thin layer of the new mix is buttered on to create a smooth surface.
Add reinforcement wire to the smoothed inner surface. Add corner reinforcement first. It’s important that there be one piece going through the corners to give them strength.
Wet mix is thrown up on top of the wire, and the 6” putty knife is used to impregnate the wire with the mix, getting all the air out.
This is the perfect time to put an old putty knife with dings and scratches to work.
The top of the bar area is reinforced, here on the bottom of the mold.
The side wall of the center unit is reinforced.
All of the areas have been double reinforced with wire mesh and impregnated with concrete mix.
Build up the edges on the sides of the front panel to be attached.
Also, build up the edges on the upright form where they will meet the front panel.
Get a purchase on the base of the front panel using putty knives.
Prop the panel up on a 2’ × 4’ board and ease to the edge of the upright mold.
More wet mud is used to finish off the bottom to the 2” lip to create a solid base for the unit.
A 1’× 4’ board is used to integrate the corners, drawing the mix from the bottom up. The finished casting needs to cure for 12 hours, or overnight.